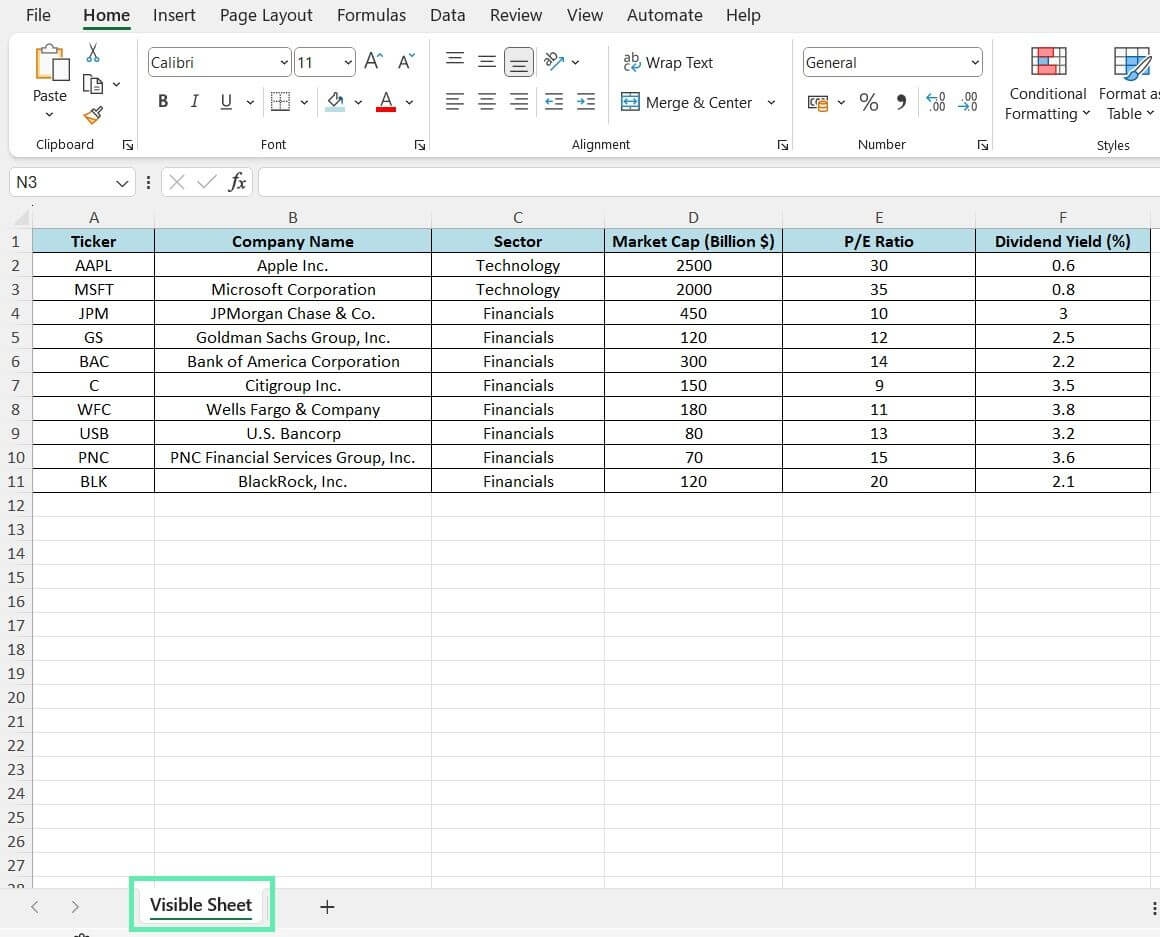
When working with Excel, there may be times when you need to hide certain worksheets from view. This can be useful for keeping sensitive information private or for simplifying the display of your workbook. Fortunately, Excel makes it easy to hide and unhide worksheets with just a few simple steps.
By hiding a worksheet, you can ensure that only those who need to see the information have access to it. This can be particularly important when sharing workbooks with others or when presenting data in a professional setting. In this article, we will explore how to hide a worksheet in Excel.
Steps to Hide a Worksheet in Excel:
1. Select the worksheet you want to hide by clicking on its tab at the bottom of the Excel window.
2. Right-click on the selected worksheet tab to open a menu of options.
3. From the menu, choose the “Hide” option. This will immediately hide the selected worksheet from view.
4. To unhide a worksheet, right-click on any visible worksheet tab and select “Unhide” from the menu. This will open a window listing all hidden worksheets. Select the worksheet you want to unhide and click “OK.”
5. You can also hide multiple worksheets at once by selecting multiple tabs before right-clicking and choosing the “Hide” option.
By following these simple steps, you can easily hide and unhide worksheets in Excel as needed. This can help you organize your workbooks and protect sensitive information from prying eyes.
In conclusion, hiding a worksheet in Excel is a straightforward process that can be useful for a variety of reasons. Whether you are looking to keep certain data private or simply streamline your workbook’s appearance, Excel provides the tools you need to hide and unhide worksheets with ease.
