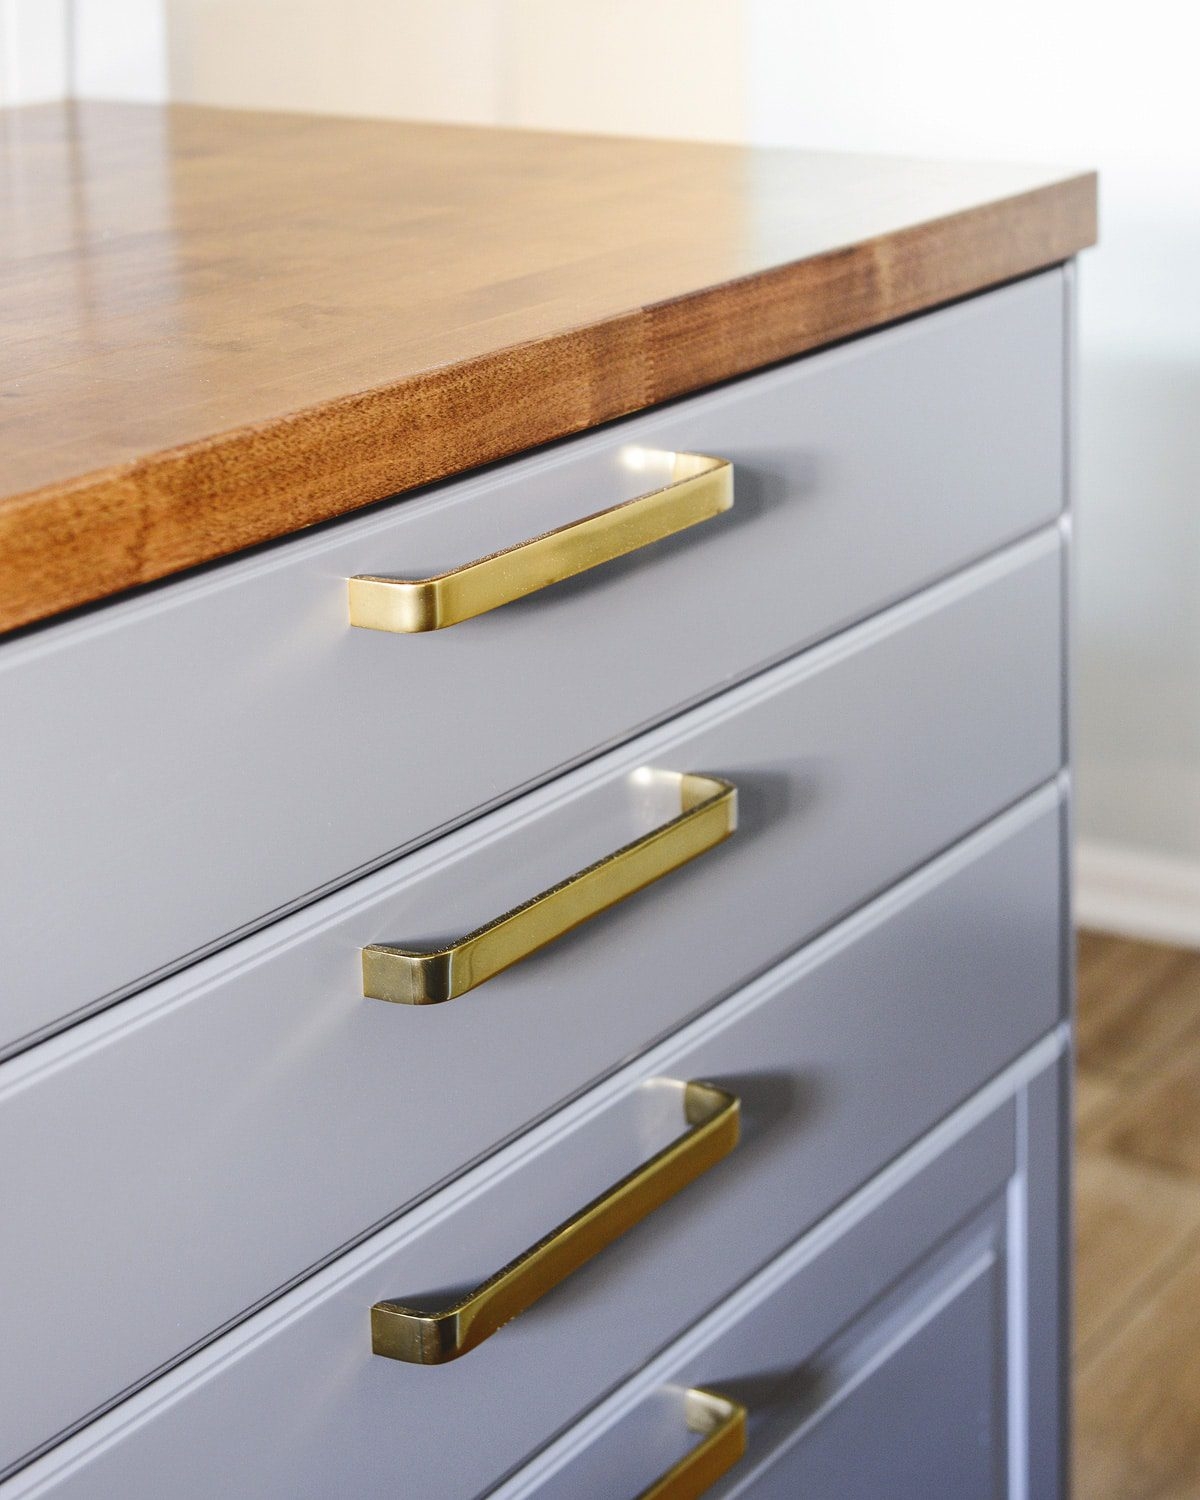
Drawer pulls are a great way to add a touch of style and personality to your furniture. Making a template for drawer pulls can help you create a consistent and professional look for all your cabinets and drawers. With just a few simple tools and materials, you can easily make your own template for drawer pulls.
Before you begin, gather the necessary materials including a piece of sturdy cardboard or plastic, a ruler, a pencil, and a drill with the appropriate sized drill bit for your drawer pulls. You may also want to have some sandpaper on hand to smooth out any rough edges.
Steps to Make a Template for Drawer Pulls:
1. Measure the distance between the screw holes on your drawer pulls. Use a ruler to accurately measure the distance and mark it on your cardboard or plastic template. This will ensure that your drawer pulls are evenly spaced and aligned.
2. Use a pencil to mark where you want the center of each drawer pull to be on your template. This will help guide you when drilling the holes for the screws.
3. Carefully drill holes at the marked locations on your template using the appropriate sized drill bit. Be sure to drill straight down to ensure that the holes are in the right position for your drawer pulls.
4. After drilling the holes, use sandpaper to smooth out any rough edges on your template. This will help prevent any splintering when you use the template to install your drawer pulls.
5. Your template is now ready to use! Simply place it on the front of your drawer or cabinet, align it with the edges, and mark the hole locations with a pencil. Then, drill the holes using the template as a guide, and install your drawer pulls with ease.
By following these simple steps, you can easily make a template for drawer pulls that will help you achieve a professional and consistent look for all your furniture. Whether you are updating your kitchen cabinets or giving an old dresser a makeover, a template for drawer pulls can make the process quick and easy.
